Hello! We will now configure the Asus RT-N12 + router. You can read a small review, photos, characteristics and reviews about this router here (do not forget to leave your review, it is very important for us :)). I am sure that this instruction is also suitable for other Asus RT-N12 routers of different versions, there are many of them, I wrote about this in the article at the link above. But what is there, according to this instruction it will be possible to configure almost any router from Asus. At the moment I only have RT-N12 +, so we will torment him. There will be an opportunity, I will definitely write about other models.
 Now we will quickly set up our Asus RT-N12 +, tell you how to connect everything, go to the settings, configure the Internet, set the name of the Wi-Fi network and change the password. I will give a link to the instructions for updating the firmware. In a few minutes you will already be drinking tea and surfing the Internet via Wi-Fi :)
I will not review this router, as I wrote about it in detail on its page (link at the beginning of this article). I'll just write that the router looks very nice and stylish, it works stably, and we intend it mainly for home use. Suitable for connecting tablets, phones, laptops, TVs, etc. via Wi-Fi, and if there is no wireless connection, then you can connect 4 devices via cable. For a small apartment or small house, this is a great option.
We will configure it according to the scheme:
- Connect and enter settings
- Setting up Asus RT-N12 with the Quick Setup Wizard
- Setting up an Internet connection with a WAN provider (if it did not work through the quick setup wizard)
- Setting the Wi-Fi password and changing the wireless network name
- Change password for access to settings.
To configure the router, we will definitely need information about what type of connection your provider uses, and whether it binds by MAC address. And if the connection type is PPPoE, L2TP, or PPTP, then you need additional data, such as username, password, possibly IP, etc. All these data are provided by the provider. How to find out the type of connection, I wrote here.
Connection and quick setup of Asus RT-N12 +
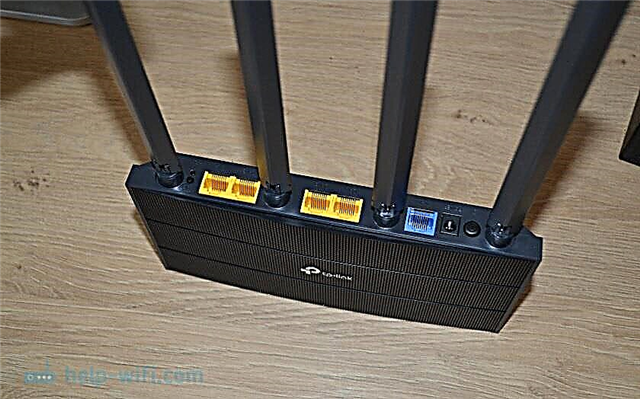
Connect power to the router. If the power indicator does not light up, then check if the power is turned on with the button on the back of the router. Connect a network cable from your provider or modem to the WAN connector. And into one of the 4 LAN ports, connect the cable, which will connect the router to the computer. If you do not have a computer, or laptop, or do not have a network cable, then you can configure the router via Wi-Fi. But, better by cable, then it can be disconnected from the computer.

If you will be configuring via Wi-Fi, then just connect your laptop (or other device, you can also configure it from a tablet or phone) to the wireless network, which will appear immediately after turning on the router. The network will be called Asus and will not be password protected.

If something doesn't work out, then read the article on connecting your laptop to Wi-Fi.
It may be that the default network will be named differently, or it will be with a password. Perhaps someone has already tried to set up our Asus RT-N12. I always advise you to do a factory reset before configuring. Press and hold the button on the back for 10 seconds (I showed it in the photo above). When released, all indicators will go out and the router will start to turn on.
We go to the control panel
After everything is connected, open any browser and type in the address 192.168.1.1... Settings should open immediately. If this does not happen, or something went wrong for you, then look at the instructions for entering the settings. We should see a quick setup wizard. First, press the button Go to.

Next, we will be asked to set a password to protect the settings of the router. This must be done. Enter the password twice, write it down somewhere, so as not to forget, and click Further.

On the next page we need in the field Network name (SSID) specify the name of your Wi-Fi network, and in the field Network key set a password to connect to this network. Also write this password somewhere.

The router will think and reboot. A Wi-Fi network will appear with the name we just set. Connect to it with the new password we just set.

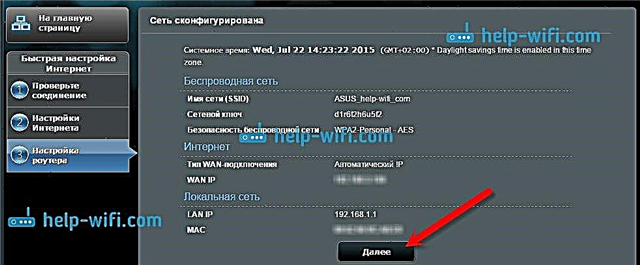
After connecting, go back to the settings again. A window with information about the connection should appear. Click Further.

The router will ask you for a username and password to access the settings (which you set during the setup process).

If everything is exactly as I described above, then you are very lucky. Most likely, this means that your ISP is using connection technology Automatic IP, and the router set everything up by itself. By the way, the Internet through the router should already work. This completes the router configuration.
But, if you have a connection typeL2TP, PPPoE, or PPTP (providers: Beeline, Dom.ru and others), then the setting will go a little differently. You just need to manually set some parameters.
Configuring the Internet PPPoE, L2TP, PPTP (Dom.ru, Beeline) on Asus RT-N12
If your provider uses PPPoE, PPTP, L2TP, or Static IP technology, then after starting the quick setup wizard, after checking the connection, the router should prompt you to select your connection type.

Next, you will need to specify a username and password to connect to the provider. This information is provided by the provider. It can also be specified in the Internet connection agreement.

You may need to specify some more parameters. IP address, service name, etc. It all depends on the type of connection, and your provider.
During the setup process, as soon as the router establishes a connection to the Internet, it will prompt you to set up a Wi-Fi network, etc. Perform these settings as I showed above in this article.
You can always yourself change WAN settings (internet connection). Just go to the main settings page (there is a button in the quick setup wizard), and open the tab the Internet - Connection.

On this page, you can always configure the most important Internet connection settings. If the Internet is already working through the router, you have changed the name of the wireless network and the password, then you can finish setting up the Asus router. I'll also show you where and how you can change the most important settings.
Wi-Fi setup and password change
If you want to change the name of your Wi-Fi network, or change the key that you use to connect to Wi-Fi, you can do this at any time in the router settings right on the main page. Just enter a new name and / or password and click the Apply button.

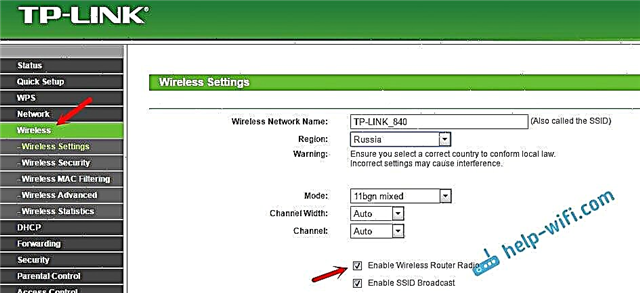
More wireless settings, including channel settings can be found on the tab Wireless network (left).
After changing the network name or password, do not forget to reconnect your devices to Wi-Fi. If you have problems with the connection (usually after changing the password), then delete your network and reconnect to it.
Protecting the settings of the Asus RT-N12 router
During the setup process, we have already set a new password to access the control panel. But, if you have not done this, or want to change your password, then go to the tabAdministration - System... Enter the same password twice and click Will applyb.

Now, to enter the admin panel, you will use this password. Don't forget it :) On this page, you can also change the time zone, assign an action to the WPS button, enable Telnet, etc.
If you have read this article to the end, and you still have a desire to do something, then you can update the firmware of your RT-N12. There is a very detailed instruction on this topic.