If you have become the proud owner of a TP-Link Archer C4000 router, then I am sure that you are already impatient to connect and configure it. I am also confident that you can configure it yourself without any problems without my help. The setup process is very simple. Yes, and a step-by-step instruction is included with the router. But if there are any difficulties during the setup process, then my instructions will be useful to you. You can also always ask me a question in the comments.
For a successful setup, I always recommend preparing first. To do this, you need to find out what type of connection our Internet provider uses (and, depending on the type of connection, find out all the parameters), and whether the provider makes a binding by MAC address. Also, if you did not buy a new router, it was already configured by someone, or you yourself have already tried to configure it, then it is advisable to reset the settings. To do this, turn on your TP-Link Archer C4000, wait until it boots, press the Reset button with something sharp and hold it for about 10 seconds. After rebooting, you can start configuring.
We connect everything according to the standard scheme: a cable from the provider (or from a modem, another router) to the WAN (Internet) port. And using the network cable that comes with the kit, we connect the computer to the router. And of course, we plug in the power adapter, plug it in, turn on the power with the button on the router.

If you want to connect to the router via Wi-Fi (for example, from a mobile device, or from the same laptop), then simply connect to one of the Wi-Fi networks that it starts distributing immediately after turning on. The default network names (SSID) and password (Wireless Password / PIN) can be found on the sticker on the bottom of the Archer C4000.

After connecting, you can go to the router settings.
Advice: if you are going to configure TP-Link Archer C4000 from a mobile phone or tablet, then I recommend doing this through the proprietary TP-Link Tether application. You can also configure the settings through the browser from a mobile device, but through the application it is more convenient.
To complete the configuration, you must first go to the web interface. To do this, you need to go to the address tplinkwifi.net, or 192.168.0.1 from the device connected to the router in the browser. We immediately change the language of the web interface and set the administrator password. You need to come up with and specify a password in the appropriate fields and click on the "Let's get started" button.

In the future, this password will need to be entered when entering the router settings, so remember it, or better write it down.
TP-Link Archer C4000 Quick Setup
The quick setup wizard will open immediately after setting the password. I recommend configuring with it. If something does not work out, at the end of the article I will show you how to change the most important settings in individual sections of the web interface.
Step 1: you need to select your time zone.

Step # 2: Internet connection. Very important parameters, be careful. You need to select the type of connection that our Internet provider uses. If these settings are incorrect, the router will not be able to connect to the Internet. I already wrote about this at the beginning of the article. All parameters can be obtained from the support of the Internet provider. I have a "Dynamic IP".

Since there is no need to specify any parameters for "Dynamic IP Address", the router will only offer to clone the MAC address. This should only be done when the provider makes a binding by MAC address.

PPPoE, L2TP, PPTP
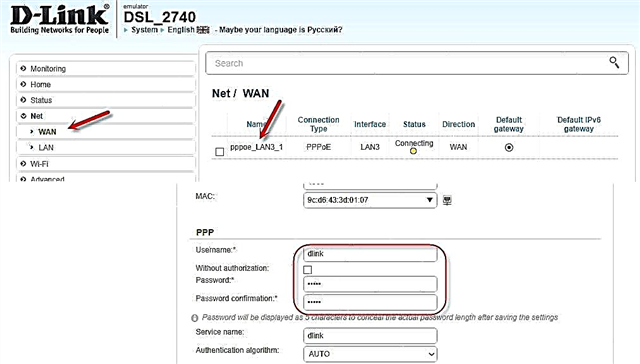
If your ISP uses one of these connection types, you will need to manually enter a username and password. And for L2TP and PPTP, there is also a server address. All this information should be indicated in the documents that you received when you connected to the Internet.

Be sure to make sure that you have entered all the parameters correctly at this stage of the configuration.
Step # 3: Set up a Wi-Fi network. Everything is simple here. We change the network name (this is optional) and the password (this is required) for each Wi-Fi network (range). If necessary, you can turn off the Wi-Fi network in a certain range. The password can be set the same for all ranges (networks).

Step # 4: check all settings. If you indicated something incorrectly, you can press the "Back" button and fix everything. If everything is Ok - click "Save".

Step # 5: reconnect to Wi-Fi. Since we changed the wireless settings, we need to re-establish the connection. You do not need to do this if you are configuring the router over a cable.

Step # 6: Set up TP-Link ID. TP-Link Archer C4000 will prompt you to sign in with your TP-Link ID, or create an account to use cloud functions. You can do this later in the router settings.

I talked in more detail about the capabilities of TP-Link ID in the article remote control of a TP-Link router (via the Internet).
Configuring TP-Link Archer C4000 is complete!
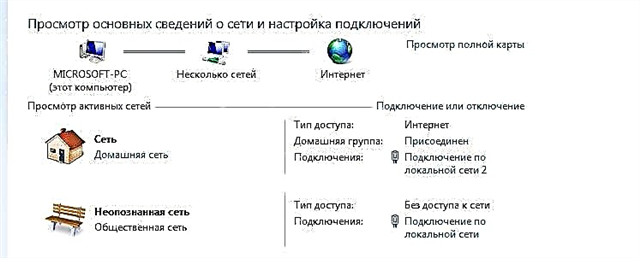
The web interface will open with the "Network Diagram" displayed on the main page. Please note if an Internet connection is established, if yes (as in the screenshot below), then everything is Ok.

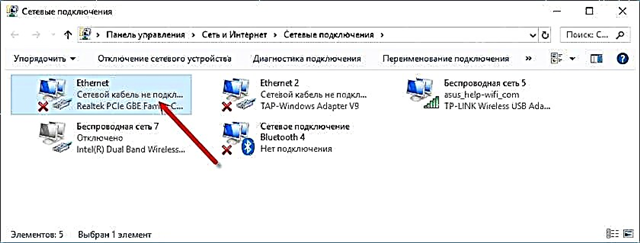
If you are not connected to the Internet, then check the cable connection from your ISP and the parameters in the "Advanced Settings" - "Network" - "Internet" section.

Perhaps there are some problems on the side of the provider. When no Internet connection is established, the "Internet" indicator on the TP-Link Archer C4000 is orange. I wrote about this problem in the article why the Internet indicator (WAN) on the TP-Link router is orange. And one more article on this topic: when setting up a router, it writes "Without access to the Internet", or "Limited".
Additional settings
You may need to change your Wi-Fi settings. Network name, or password. You can always do this under "Advanced Settings" - "Wireless Mode" - "Wireless Settings".

IPTV settings are located in the "Additional settings" - "Network" - "IPTV" section.

For more information about setting up IPTV, see a separate article: Setting up IPTV on TP-Link routers.
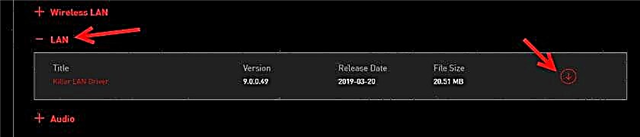
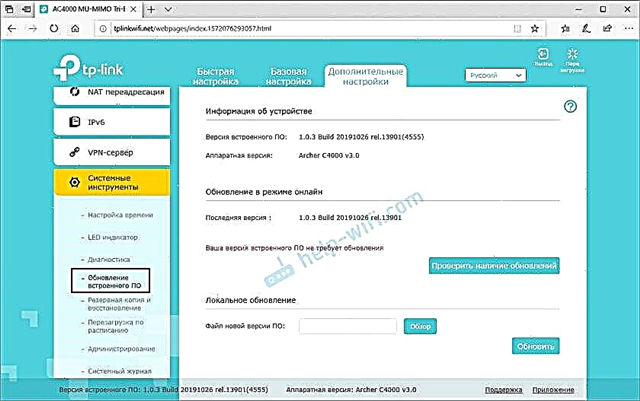
Updating the firmware can be done online. Archer C4000 will download the firmware itself and install it. This can be done in the "Advanced Settings" - "System Tools" - "Firmware Update" section.

There are a lot of settings there, it's almost impossible to describe everything. In the instructions, I showed how to perform the basic configuration of the router and some fictions such as IPTV, software update, etc. If you failed to configure something, or I missed something important in my instructions, write about it in the comments.