Today we will be configuring the TP-LINK Archer C7 Dual Band Router. If you have already purchased this router and want to connect and configure it faster, then proceed to the next subheading. And I will write a few more words about this router for those who are just choosing a router and are thinking about buying an Archer C7 model.
TP-LINK Archer C7 is an excellent router model for a private house, apartment, and even an office. When you have many different devices, you want to play online games, watch videos, etc. without any problems. And at the same time, you don’t know what constant Internet connection drops, ping drops, speed drops, etc.

This is a powerful router, which has all the modern chips that I so often remembered in the article tips for choosing a Wi-Fi router for your home or apartment. Namely: support for Wi-Fi 5 GHz (802.11ac), and two USB ports. This router will be relevant for a long time. Well, the price for such functionality is quite good. A little over a hundred dollars.
Since we have here instructions for setting up the Archer C7 (AC1750), and not a review and description of technical characteristics, then I will write more detailed information on this model on a separate page. And now we will deal with connecting this router, and configuring it.
I have TP-LINK Archer C7 hardware v2. I installed the latest firmware, for some reason I thought that there would be a new, blue control panel. But no, it was green. It seems to me that the new page with settings will be from the third hardware version. Let's consider setting up on the old version of the web interface. If you have a new firmware, then see the TP-LINK Archer C8 setup instructions for example.
If you want to configure the router via Wi-FI from a mobile device (tablet), then I advise you to do it through the TP-LINK Tether app. Also included is a CD with a utility for quick setup. Here's how to set up your router from disk.
How to connect TP-LINK Archer C7 router?
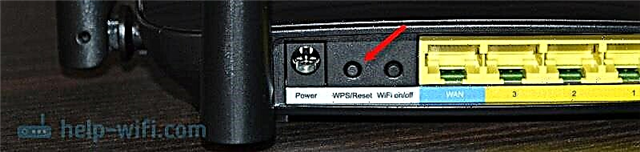
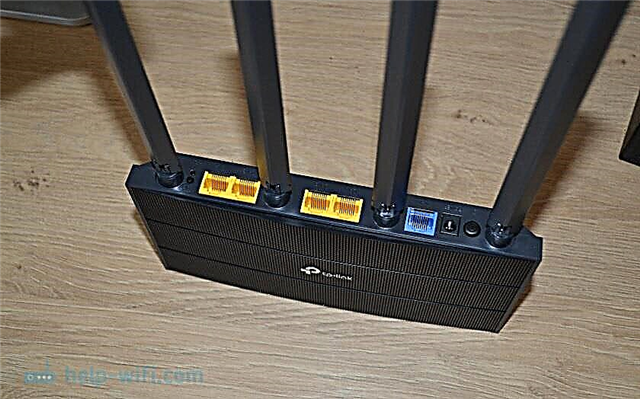
It is enough to connect the power adapter, connect the Internet to the WAN port (it is blue and signed Ethernet), and use the cable that you will find in the kit to connect the router to the computer. It should look something like this:

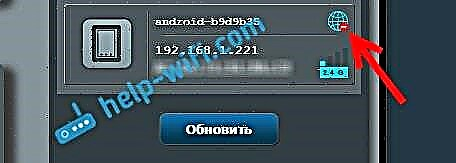
We turn on the power of the router, and from the computer to which we are connected, you need to go to the settings. You can also connect to the router via Wi-Fi network. All factory information (name of Wi-Fi networks, password for Wi-Fi, address for entering settings, standard username and password) are indicated on the bottom of the router, on a sticker.

We open any browser and go to the addresstplinklogin.net (192.168.0.1 also works). Enter your username and password. By default these are admin and admin.

The router settings will open, where we can set all the necessary parameters. Set up internet and Wi-Fi network.
Setting up TP-LINK Archer C7
The main thing for us is to set up the Internet, set up a Wi-Fi network, and set a password. This can be done on different tabs in the control panel. Or you can use the quick setup wizard. Which we will do.
On the left, go to the "Quick Setup" tab, and click the "Next" button.

Now attention! If you immediately see a window with Wi-Fi settings, it means that the Internet connection is configured automatically (most likely, you have a "Dynamic IP" connection). Just scroll down the page a bit and continue with the wireless setup.
But, most likely, you will need to set parameters for connecting to an Internet provider. The first way is to select your country, region and Internet provider from the list (this option may not be available on older firmware versions). If you do not find your provider, then check the box next to "I did not find suitable settings". And click "Next".

You need to select the type of connection that your Internet provider uses (Dynamic IP-address, Static IP-address, PPPoE, L2TP, PPTP). If you do not know, then it is better to check with the provider's support. You can also look at the official website, or look in the connection agreement. The necessary data for connection must also be indicated there: username, password (if they are needed).
If you select "Dynamic IP", then you only need to specify whether there is a binding by MAC address or not. If so, then we clone the MAC address from the computer. If not, then the Internet will work immediately.
I chose PPPoE for example. Click "Next" and continue with the configuration.

A window will appear in which you need to specify a username and password (provided by the provider). And if you have L2TP, or PPTP, then you will also need to specify the server. Click "Next".

If everything is correct, a window with Wi-Fi network settings will appear. More precisely, the window in which you need to choose what frequency you want to use the Wi-Fi network. You can only choose 2.4 GHz, or 5 GHz. Or use both ranges simultaneously. Select the desired item and click "Next". I selected "Simultaneous 2.4 GHz and 5 GHz (802.11a / b / g / n / ac)". This means that the router will broadcast two Wi-Fi networks at different frequencies.

Next, a window will appear in which you need to set a name for the Wi-Fi network, select your region, and specify the password that will be used to connect to Wi-Fi. If you selected "2.4 GHz and 5 GHz", then two windows will appear, for each frequency separately.

Well, setting up a wireless network at 5 GHz.

We see a window with a message that the setup is complete and the Internet is working. Click on the "Restart" button.

The Internet works through the router, the name of the Wi-Fi network was changed, the password was set. That's all the settings. I also advise you to change the factory password admin, which is used to protect the settings of the router.
Setting up a 5 GHz Wi-Fi network on an Archer C7 (AC1750) router
Since we have a dual-band router, it can broadcast two Wi-Fi networks at different frequencies: 2.4 GHz and 5 GHz. If, for example, you turned on only one frequency during the tuning process, but you need two, or vice versa, then all this can be changed in the settings. Also, you can separately change the network name and password for each network (on each frequency).
In the control panel, go to the "Select operating frequency" tab. There you can specify at what frequency the router will broadcast the wireless network.

Then, go to the tab with the settings of the Wi-Fi network we need. For example, on "Wireless mode - 5 GHz".

There you can already see or change the required parameters. Everything is simple and straightforward.
If you still have any questions about setting up the Archer C7, then you can leave them in the comments. I have shown the basic settings that need to be configured for the router to work properly. But, there are still many different features that you might find useful. For example: setting up IPTV, FTP server, guest network, etc. We have separate instructions on how to set up these functions on our website. Look in the "TP-LINK" section, or use the site search. Good luck!