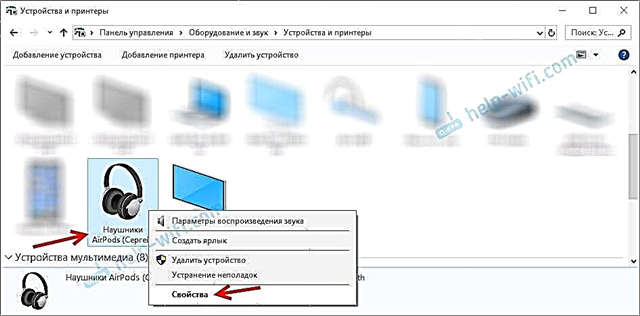
I recently reviewed the TP-Link NC450 camera, and decided to write another small instruction on how to set it up. How to access the camera from a mobile phone or tablet, how to set up access via the cloud and over a local network, and how to enter the control panel of the TP-Link NC450 camera itself. I will also show you how to connect a cloud camera with a Wi-Fi router.
I don't know if you had to configure IP cameras when the camera could only be accessed by IP address. And if you wanted to view the image from the camera over the Internet, and not on the local network, then you had to understand a lot of different settings. Cloud cameras are much easier. In the case of TP-Link cameras, communication goes through their cloud (company servers). All you need to do is create an account on the cloud, log into it from a mobile device, or through a computer browser, add your camera (or several), and at any time and from anywhere you can access it.
But first of all, you need to connect the camera to your router. What we are going to do now.
TP-Link NC450 Connection
Everything is very simple. It is enough to connect the power to the camera and connect it to the router using a network cable, or via Wi-Fi. With the cable, everything is clear, on the router to the LAN port, on the camera to Ethernet (there is only one).
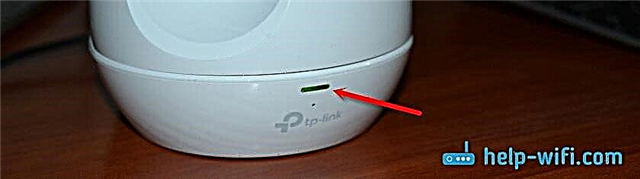
But most likely you want to connect the camera over Wi-Fi. To do this, press the WPS button on your router (one of the indicators should blink). On the camera, also press the WPS button. Before doing this, connect the detachable antenna to the camera.
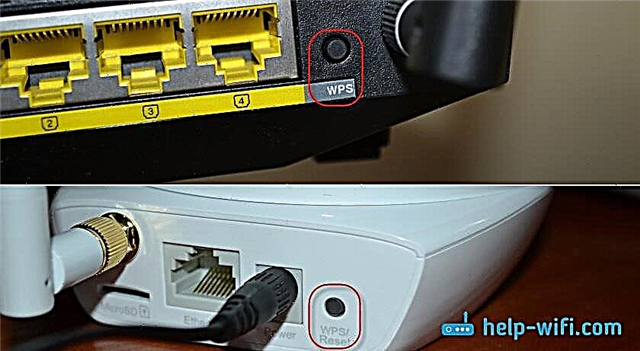
Wait a bit, and the indicator on the front of the camera should turn green.

Note! If you do not have a WPS button on your router, or you cannot connect devices in this way, you can connect to the required Wi-Fi network through the control panel of the camera itself. How to enter it, I will show below in this article.
After connecting, you can proceed to the configuration. Basically, nothing really needs to be configured. Then it all depends on the purpose for which you are installing the TP-Link NC450 camera, and from which device you want to access it.
Since this is a cloud camera, I will show you how to access it via the Internet (or on a local network) from a smartphone or computer via a cloud service.
Access to the camera from a phone or computer via the Internet (cloud)?
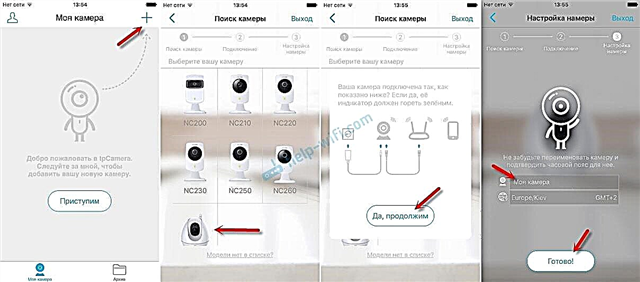
To access video surveillance via TP-Link NC450 from a mobile device on Android, or iOS, then I advise you to install the applicationtpCamera from the App Store, or Google Play.
Local access
If you only need access to the camera on the local network (from devices that are connected to the same router as the camera), then you do not need to create a profile on the tplinkcloud.com cloud. In the tpCamera application, you can select "Local". And to view the picture from the camera on a computer in the local network, just go to its settings (more on that below), or download from the official website and install the TP-LINK Camera Control program.
If you want to be able to conduct video surveillance via the Internet, from any device, then register on the sitehttps://www.tplinkcloud.com... This can be done directly from the tpCamera application itself. Then, you can go to your profile in the tpCamera application on your mobile device, or in your computer browser. All you need is to bind the camera to your profile.
I did this through the application from the phone, after logging into my account.
You just need to link the camera to your tplinkcloud.com account. This is done like this:
The camera will appear in the list. You can select it and view the image. Also listen to the sound. By the way, since the TP-Link NC450 camera can also transmit sound, you can hold the microphone button in the application and speak. Like a walkie-talkie. Well, record video from the camera, or take a photo. By clicking on the corresponding buttons. Other settings include mute, change video quality and night mode control.
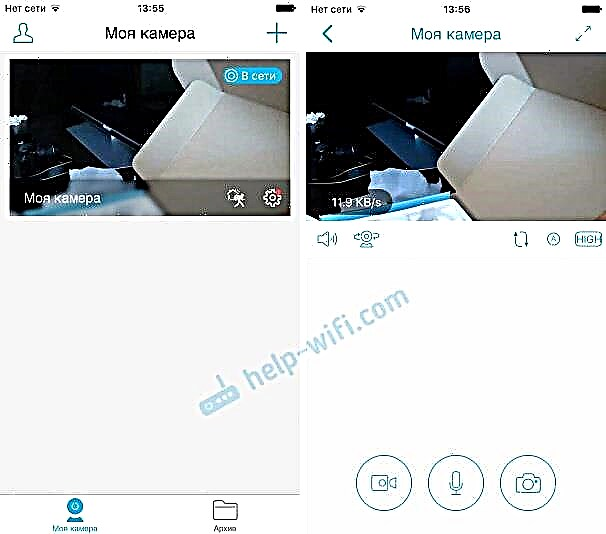
Well, do not forget that TP-Link NC450 we have a PTZ camera. To look around, just slide your finger across the image displayed on your smartphone or tablet. Or use a separate button for this to rotate the camera vertically and horizontally.
And this is how it looks if you log into your account through a browser from a computer.

All the same, the cloud is a cool thing. Not only for file storage, but also for video surveillance. Thanks to this technology, each user can install and configure the camera in a few minutes, and access it from any place and device.
Web interface of the TP-Link NC450 camera (go to the settings)
As I wrote above, to control TP-Link cameras, you can use the TP-LINK Camera Control program on your computer. Which can be downloaded from the TP-Link website. It looks like this:
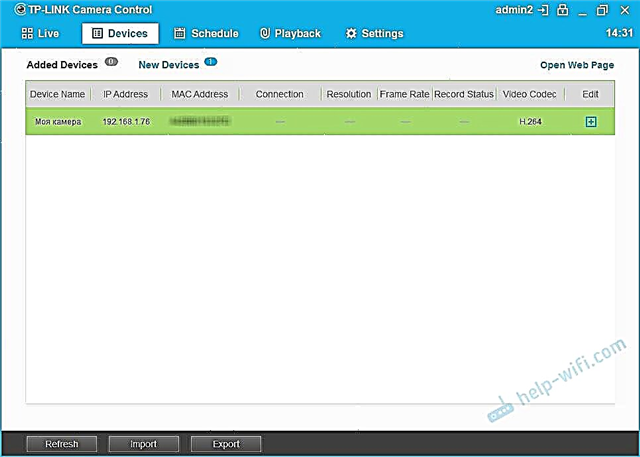
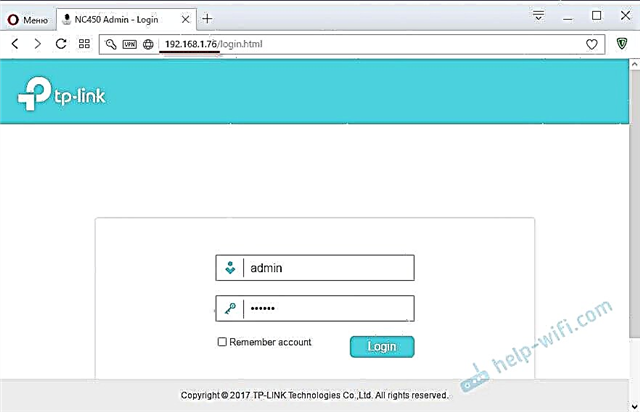
In this program, you can also see the IP-address of the camera, by which you can enter the control panel through a browser. In my case, the address is 192.168.1.76. You can also see this address in the client list (or DHCP) in the settings of the router to which the camera is connected.
We go to this IP-address and get to the authorization page. Factory name and password: admin and admin (indicated on the bottom of the camera).
The control panel will open.
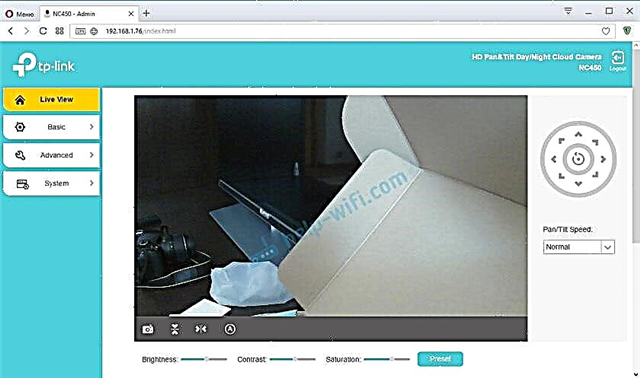
You can watch the picture from the camera and control it. There are not very many settings, it is not difficult to understand them. The only thing that is not very convenient is the control panel in English. Alternatively, you can open the settings, for example, through Yandex Browser, and translate them into Russian.